Our forum user “michigander” has created a great hardware project based on LivePrompter classic – a very cool stage-monitor-style prompter box.
Here is the story around the build:
This idea became a reality in a little less than 30 days.
— michigander
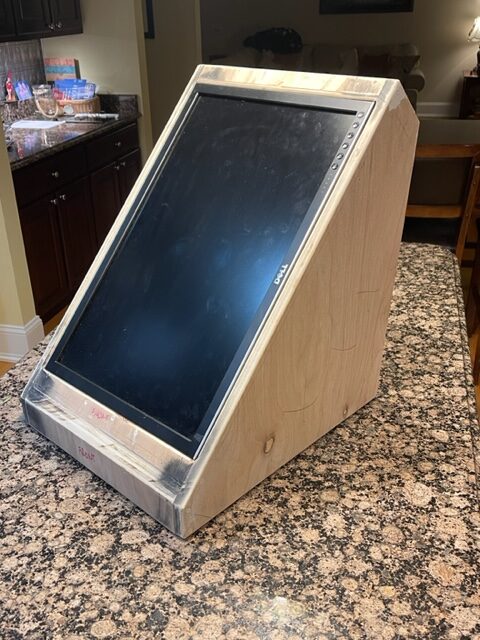
It took 17 days from a literal napkin sketch, to a piece of scrap plywood and an old dell monitor, to a stage monitor. A few hardware bits and tortex from mojotone were the finishing touches.
Throughout that time I read all of Torsten’s manuals and made myself a few song files in advance as well as some setup notes.
I ordered the 4 button BT airturn from Sweetwater and also read the manuals and took notes.
I sourced a simple dell computer and all pertinent cables and hooked everything up.
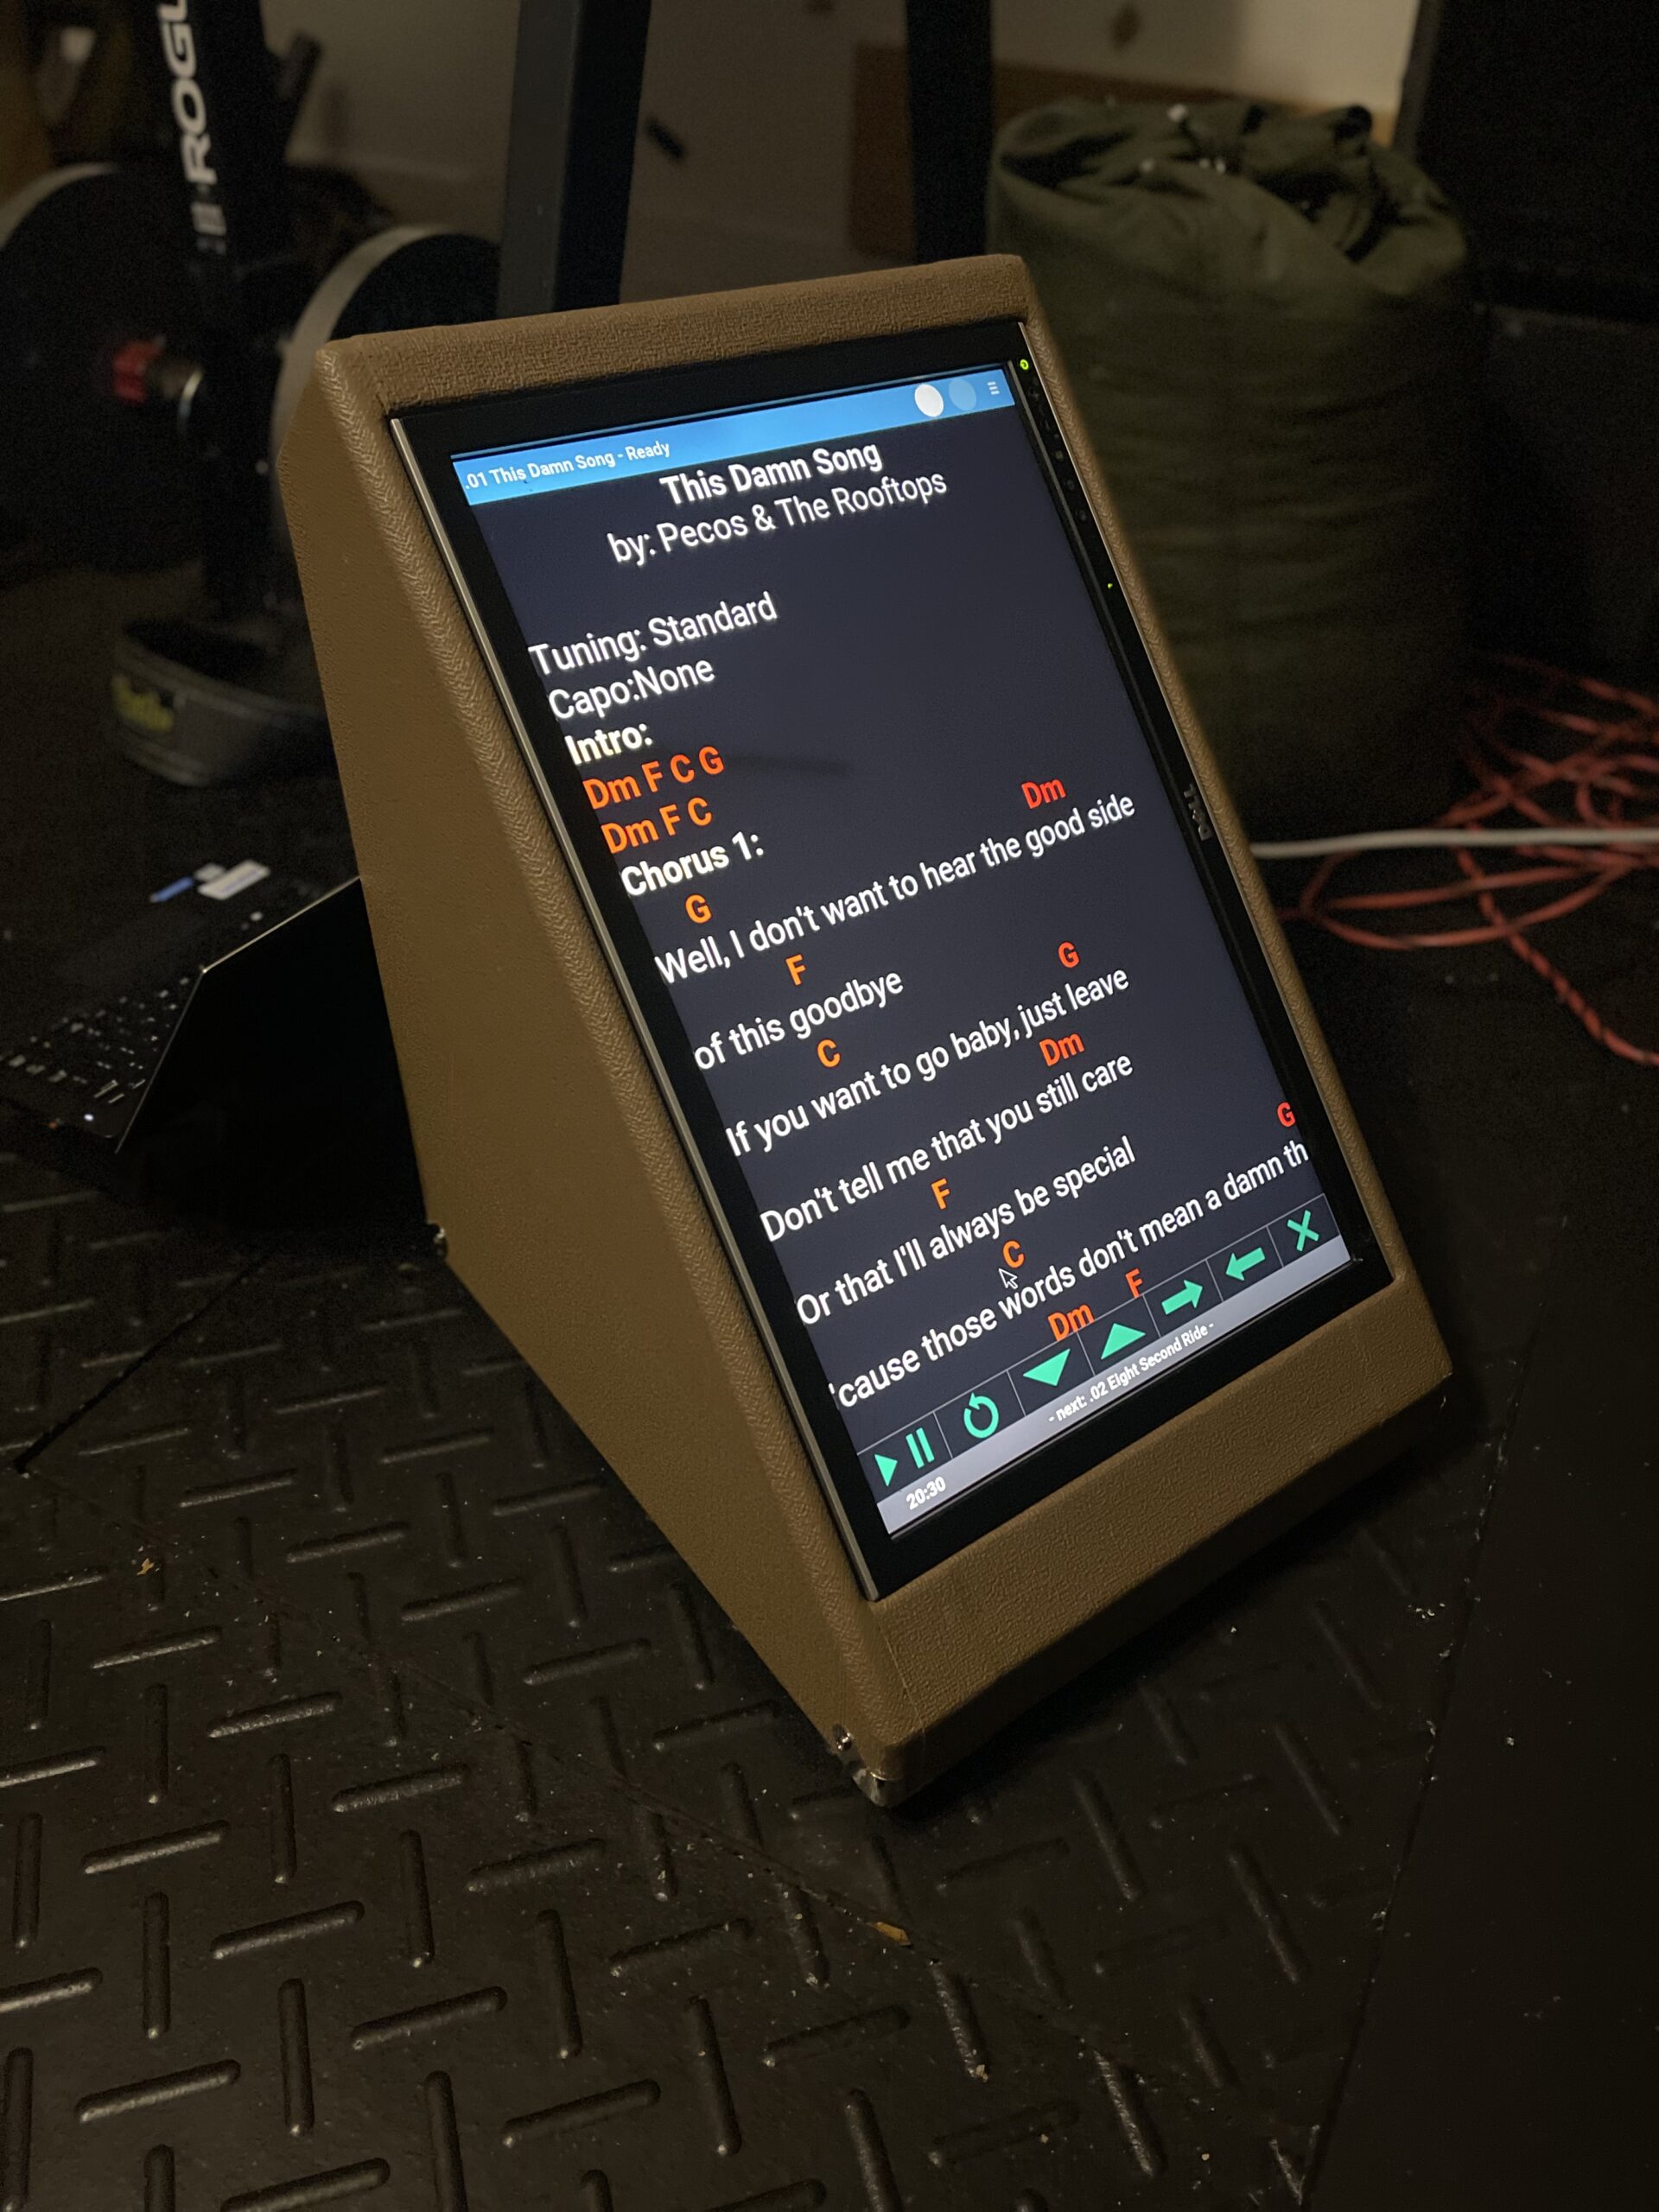
One fateful night I sat down with everything and setup the pedal, the computer, the software… and in a few hours I had a fully functioning prompter.
I’m telling you- I’m not a technical guy but I can read instructions. I can’t believe how simple this whole process was if you just take the time to read all of the manuals!!
Thank you Torsten!
Some more detail on the build and how the final shape was created:
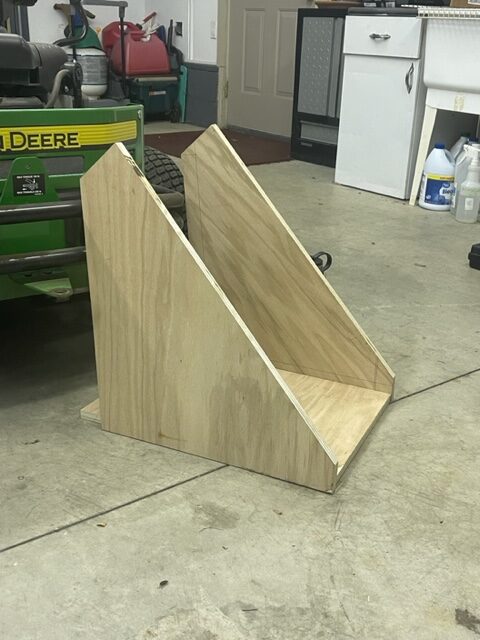
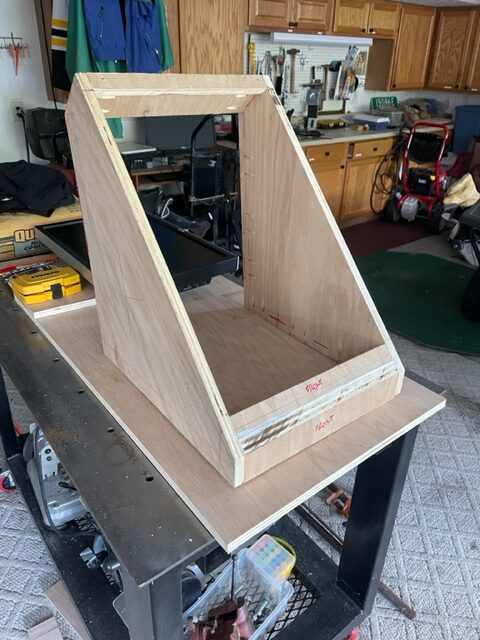
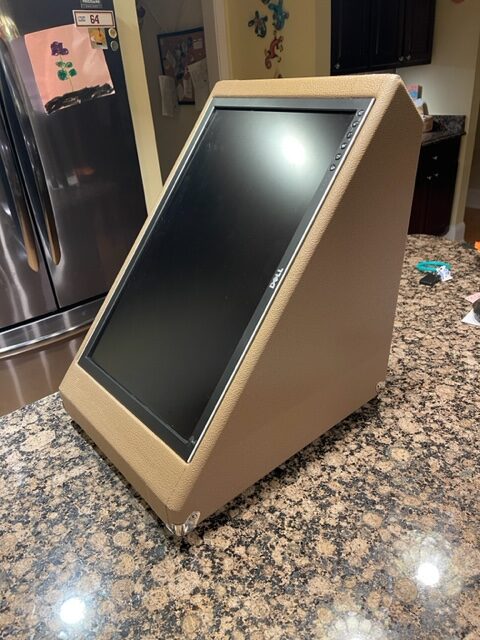
I took an old Dell 2407WFP 24” LCD monitor and leaned it against a lawnmower. I took a mic stand and my guitar and set it up a comfortable distance from the monitor. I sat on a stool with my guitar, as well as stood with it. I adjusted the “lean” of the monitor against the lawnmower to suit both playing positions. Then I moved as close as I felt comfortable to the monitor, as well as a max comfort distance. I did some final tweaking of the monitor angle and… excuse the simplicity… traced the monitor surface on a piece of plywood. Then I freehanded some 90 deg angles from it and cut the pieces.
The side panels are the only artistic dimensions and once they are cut, the middle pieces are just a matter of matching how wide the monitor is.
I used 3/4” oak because I had it sitting in the shop but I recommend 3/4” MDF for ease of use, weight savings, and cost savings. Use 3/4” so you can use a 3/4” roundover router bit which is compatible with most cabinet corner hardware.
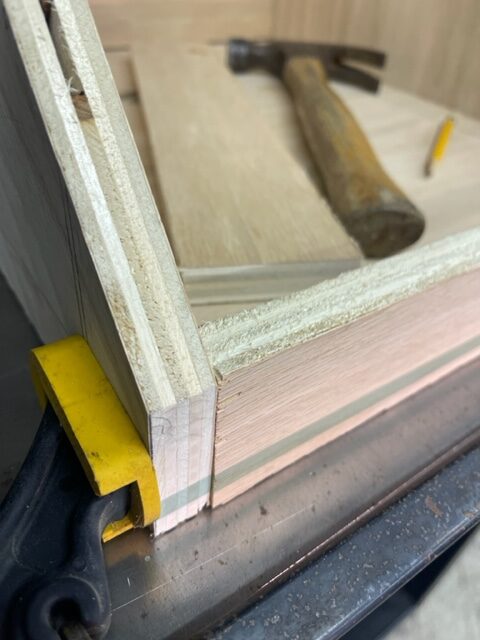
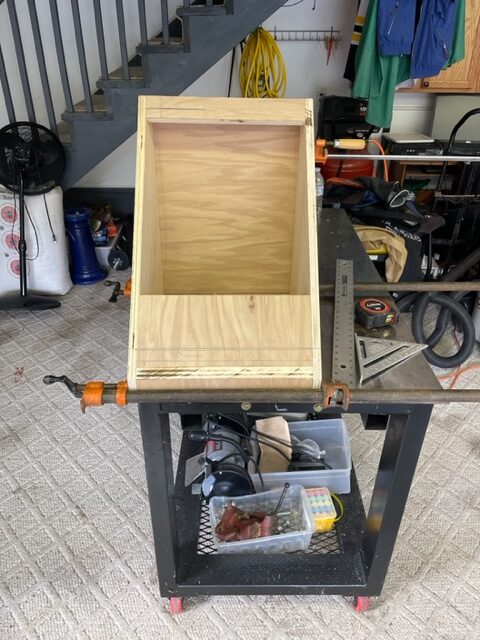
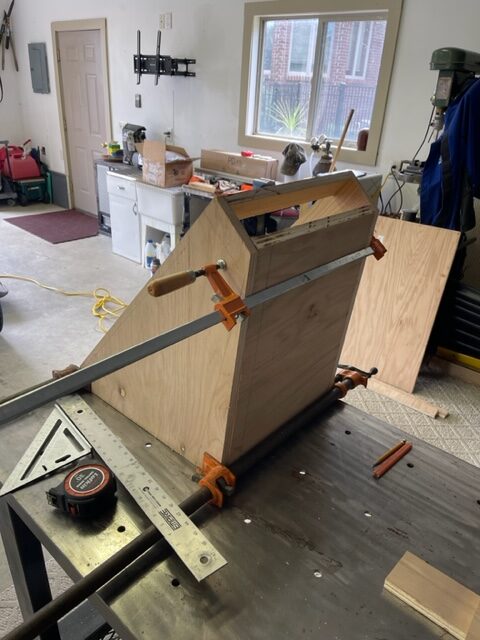
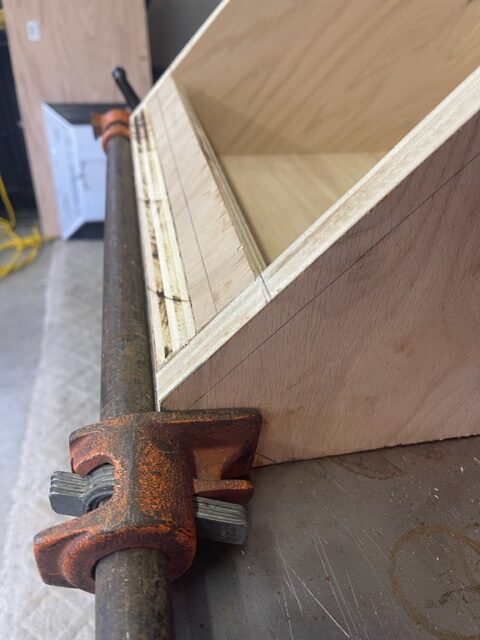
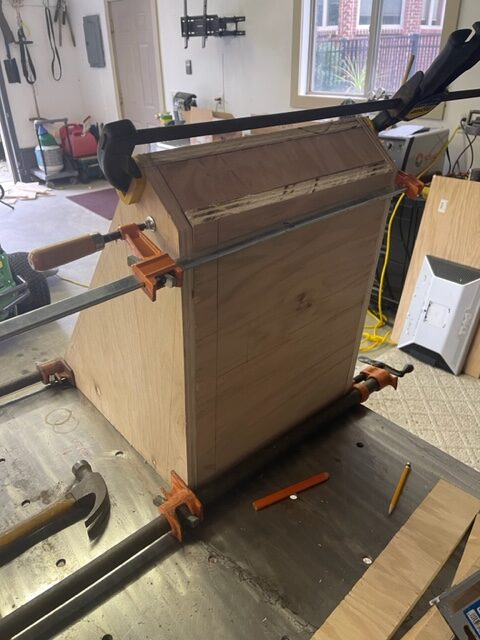
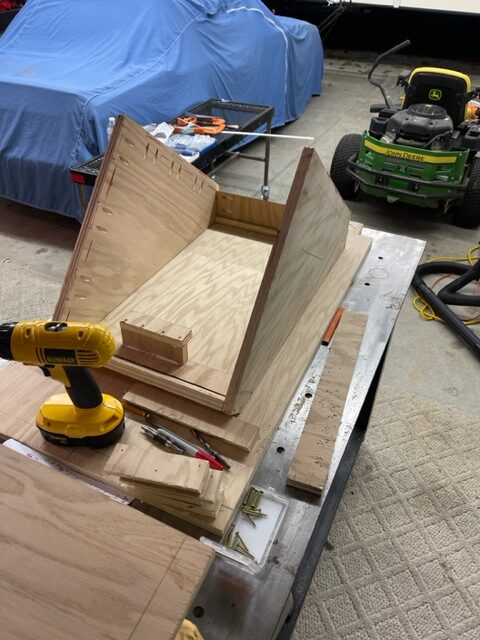
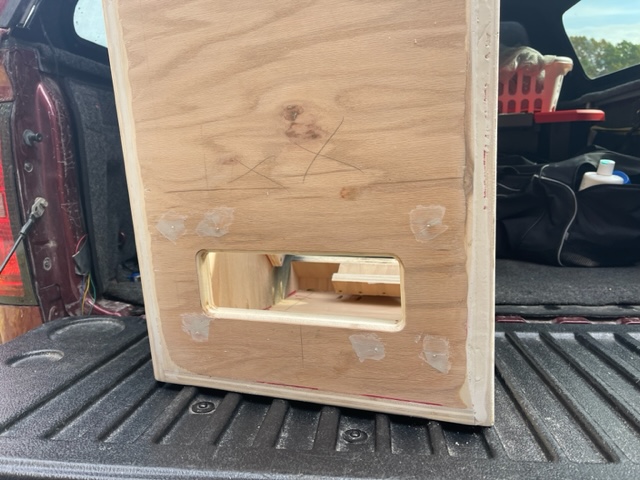
The cabinet was assembled using a Kreg 320 pocket hole jig, as well as random small headed sub-flush wood screws.
I admit I swore, and used a lot more clamps and wood filler than I wanted to. I also drilled the pocket holes on the wrong panels….twice.. but it’s hidden.
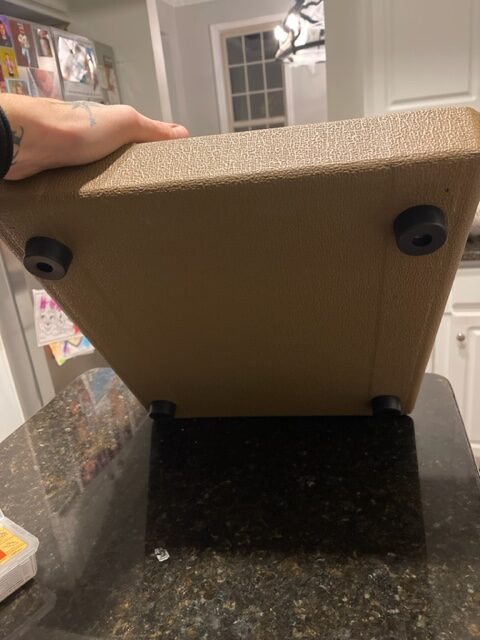
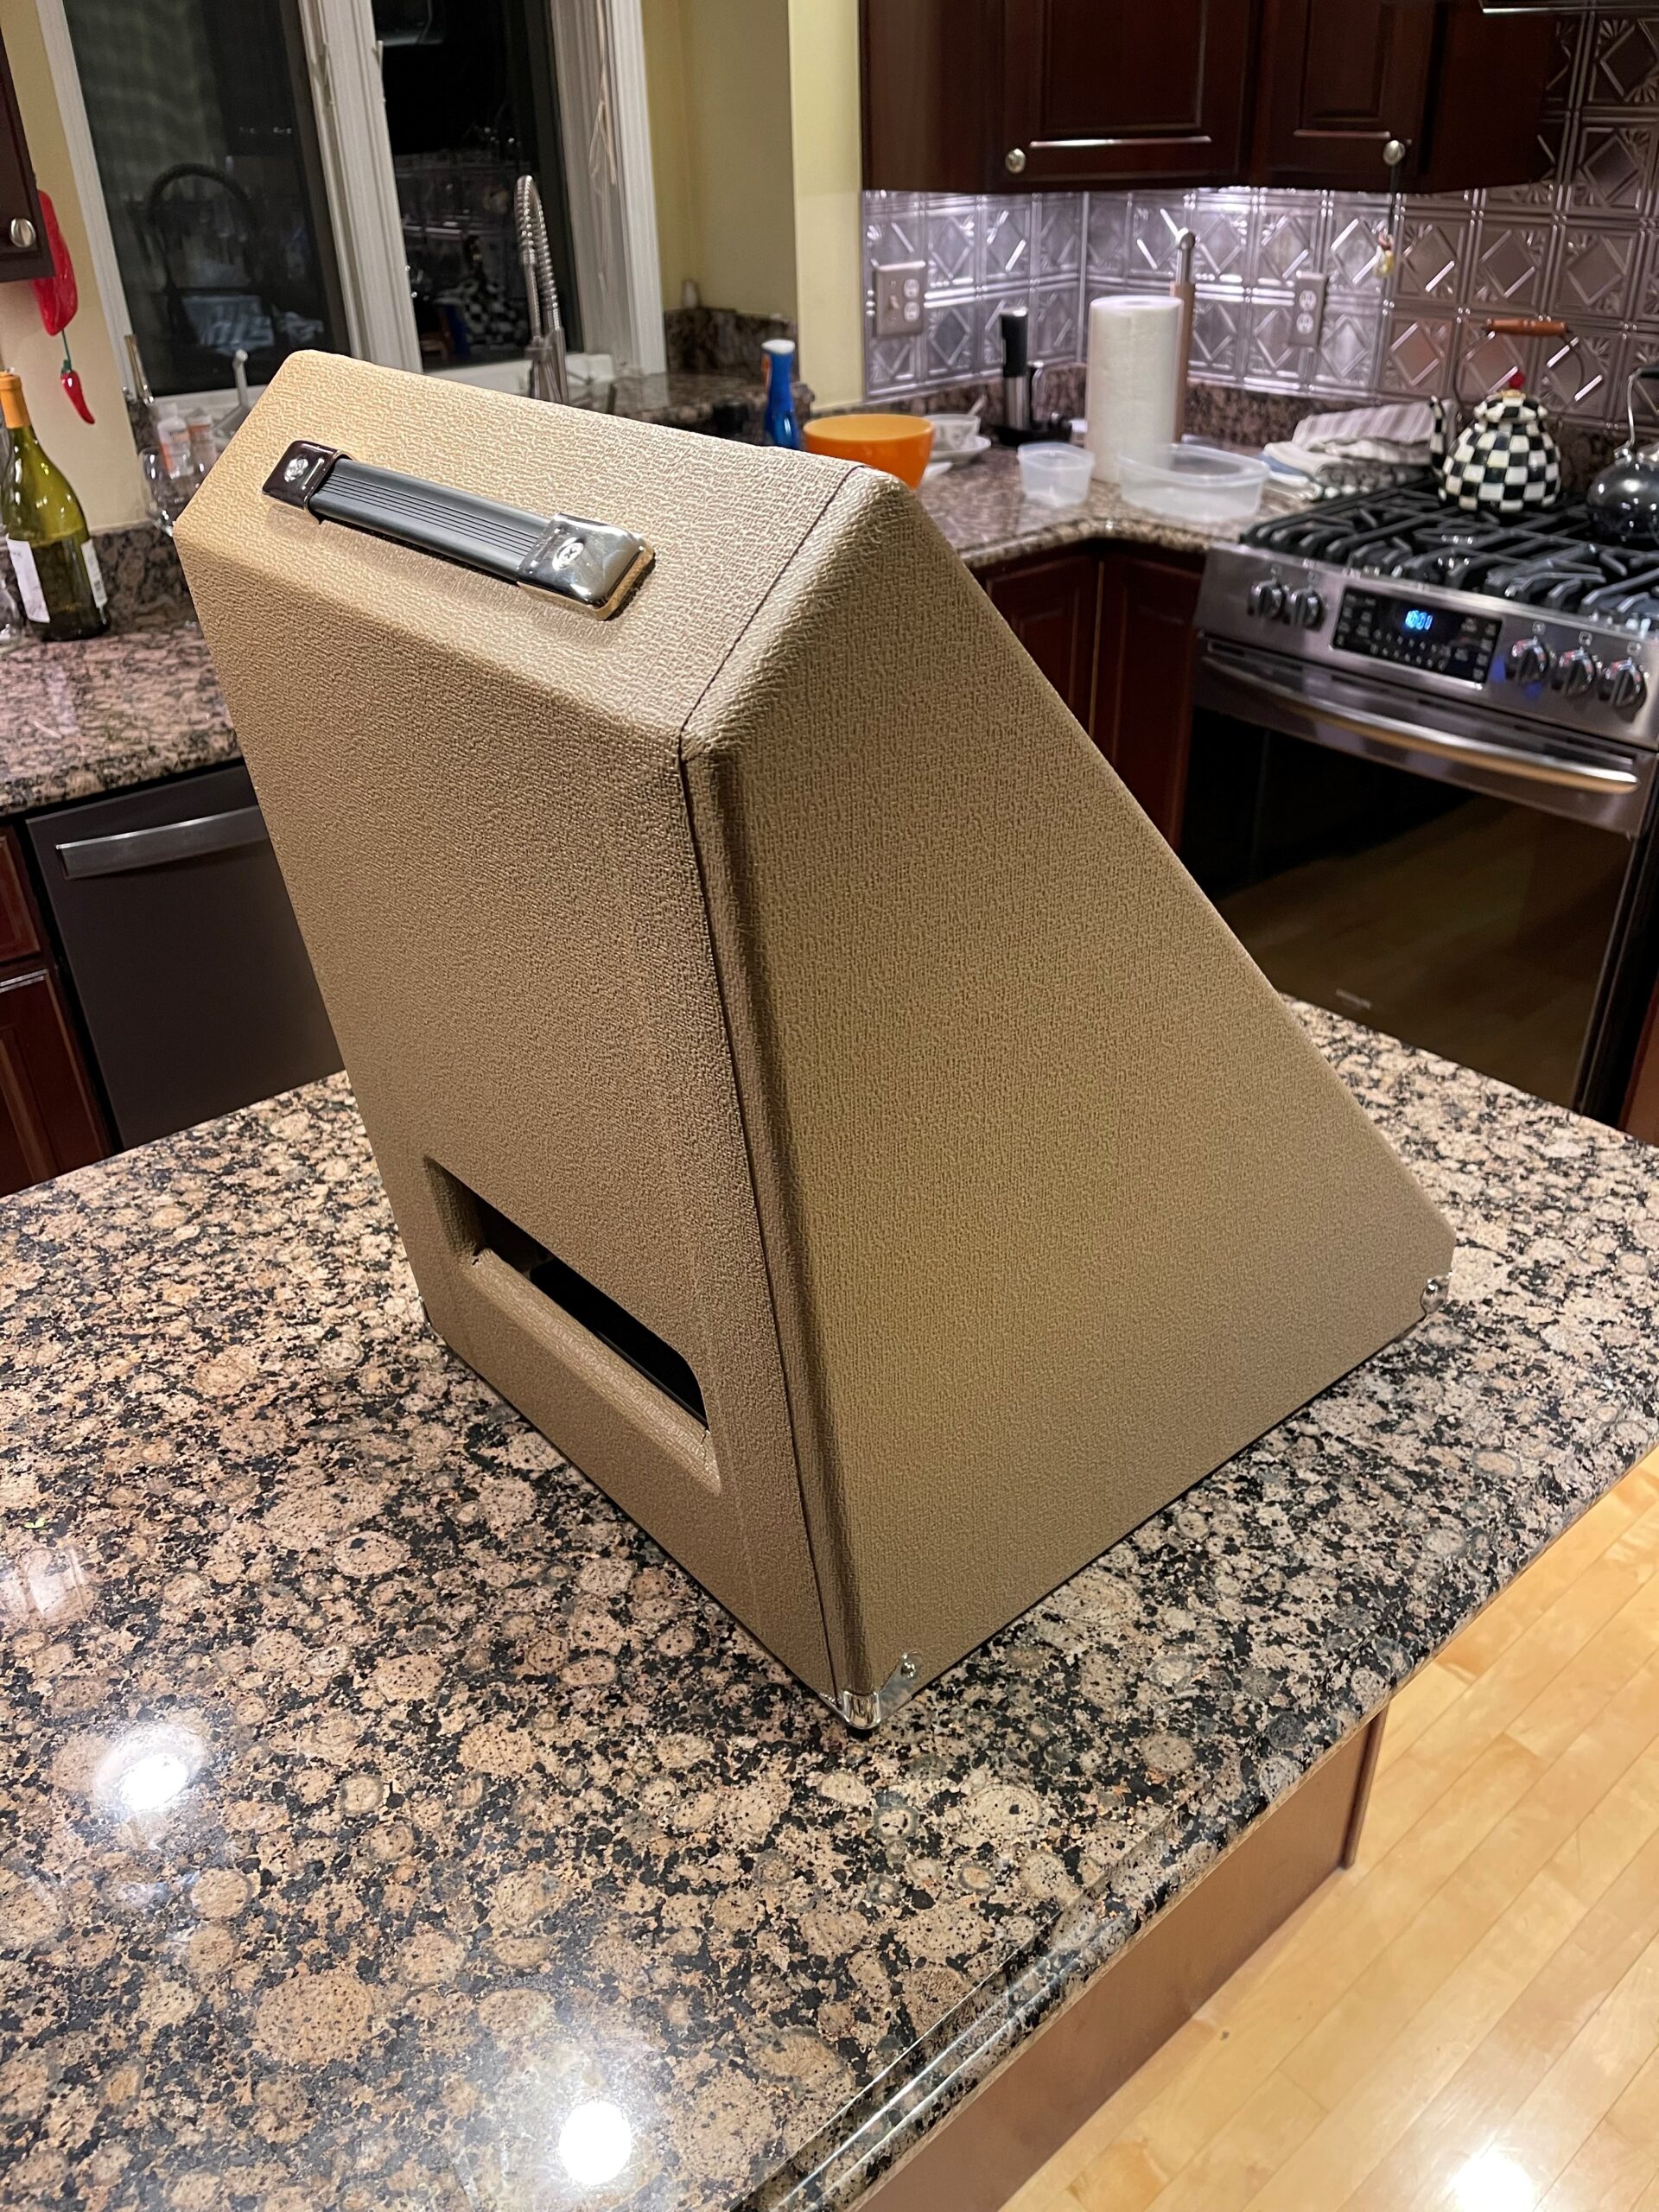
From Mojotone.com I ordered:
1) Fender Style Black Strap Handle with Chrome End Caps
2) Mojotone Chrome 2-Hole Cutout Corners (with Screws)
3) Mojotone Rubber Feet 1-1/2“W x 3/4”H (38.1×19.05 mm)
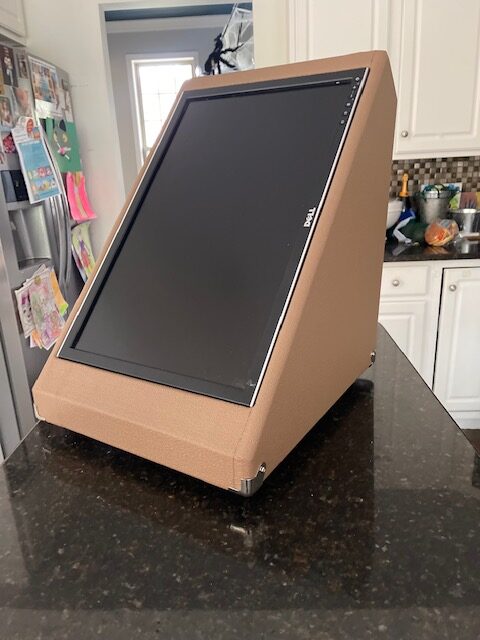
Tolex was applied with:
– DAP red label contact cement
– 2” marshalltown seam roller
– heat gun
– edges finished with gorilla gel super glueI’m currently planning to open an access hole in the bottom and add a cross member with VESA mount to hold the screen in.
— michigander
Here are more pictures from the build – nice handiwork (although I probably would have used black tolex for stage use).
February 4, 2024
Hello, nice looking monitor. Would you happen have the dimensions For the wood cut outs?
August 10, 2024
What software are you using ?