About the Windows Version
Now that the Android version has proven to be pretty stable, I have started to explore the multi-platform capabilities of the Flutter development framework (that’s the technical platform that LivePrompter is built on). The first version available is the Windows version (but iOS and macOS are already in the pipeline…).
If you are not already using the Android version, I recommend you read through the first chapters of the “Introduction” section to understand the fundamental concepts, then come back here for installing and configuring LivePrompter on Windows.
The Windows version looks and behaves pretty much similar to the Android version, but it has one fundamental difference: since on Windows, applications can access the file system directly, there is no need to use Dropbox to copy files to the device, so instead of connecting LivePrompter to Dropbox, you simply tell LivePrompter where your song files are.
Of course, you can still keep your LivePrompter files inside a Dropbox, but on Windows, you simply use the Dropbox application to keep your files in sync; no need for LivePrompter to duplicate that work.
This also makes the Windows version the ideal tool to quickly check your song files during editing, since all changes are immediately visible when you open the file.
Still, the Sync process doesn’t go away – LivePrompter still needs to read through all your song files and organize them in its database – that process is still necessary and initiated with the Sync process.
Note: an important difference to the Android version: the MIDI and peer-to-peer networking features aren’t available at this time – the underlying Flutter libraries don’t have a Windows implementation yet. I’m working on this, so I hope this will come sooner or later…
Also worth noting: since Windows is a multi-window desktop operating system, there is now an additional Settings menu item “Desktop Display” that allows you to set LivePrompter to run full-screen (there’s als now an additional “Exit” button at the bottom of the tray to leave the app, since you can’t close the window in full screen mode). Also there’s an option to always keep the LivePrompter window on top of other windows. Useful if you want to overlay song lyrics on top of another application (e.g. Cantabile)
Installing
OK, now you know how the necessary basics, and have your home directory with the first song files. Now you’re ready to install LivePrompter on your Windows PC and configure it for first use.
To install LivePrompter, simply run the Installer you downloaded from the LivePrompter homepage.
Once you’ve installed LivePrompter, launch it and take your first steps through the initial configuration.
Note: to keep things simple, I’ve copied most of the screen shots from the Android version and only created new ones where necessary. LivePrompter looks very similar on all platforms.
First Setup – in Baby Steps
Welcome Screen
The first time you start LivePrompter, the screen would look a bit boring and empty, because there’s no content yet. That’s why there’s a friendly little welcome message there that will direct you to this documentation web site:
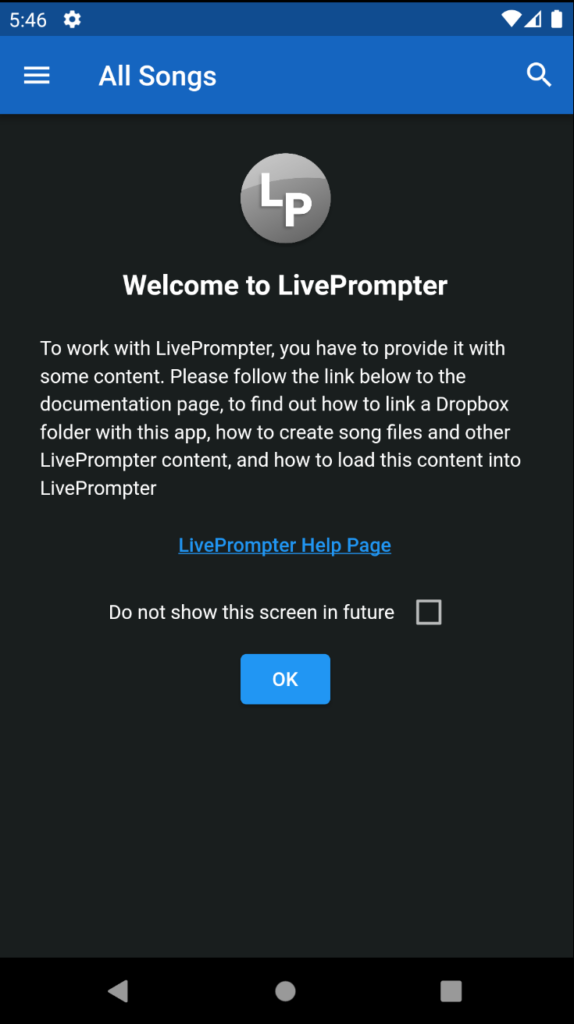
Now you can press the OK button to remove the welcome message – and if you want, you can also set the tick mark to not show this welcome message in future. Don’t worry about losing the link to the help page; you’ll also find the URL for this page on the “About” screen, so you’re safe hiding this welcome screen.
The Home Screen
Next, you’ll find yourself on the “home screen”. It still looks a bit empty, since we have no data, but we’ll definitely change that.
The Drawer
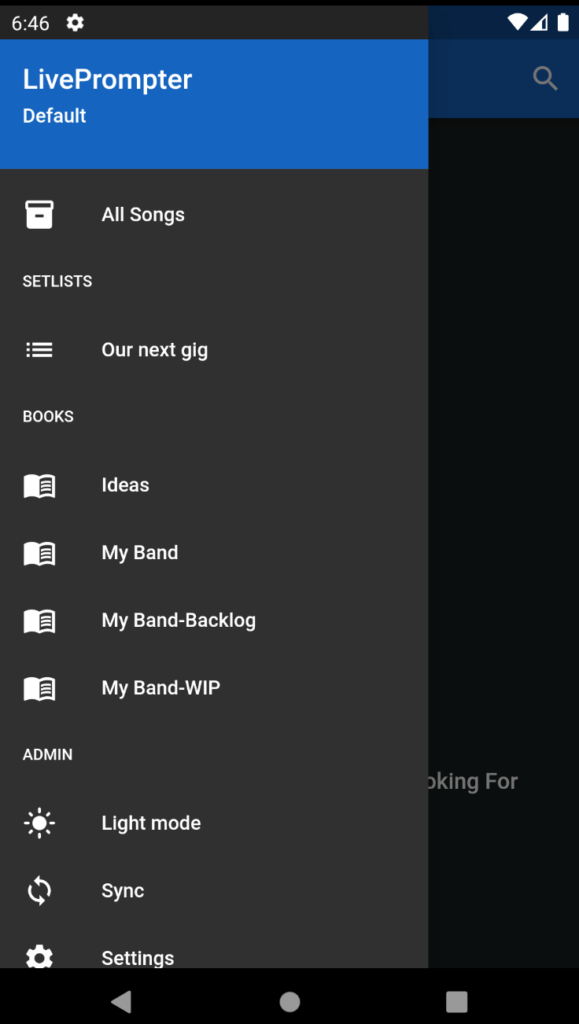
Now let’s open the “drawer menu” on the left by clicking the “hamburger menu” on the top left. This is where you’ll be able to select setlists and books (once we have them), but for the moment, we’re only interested in going to the settings page by clicking the “Settings” near the bottom.
The Settings Page
There are a ton of things you can do on the settings page – we’ll get to that in the advanced sections; for the moment let’s focus on giving LivePrompter access to your home directory.
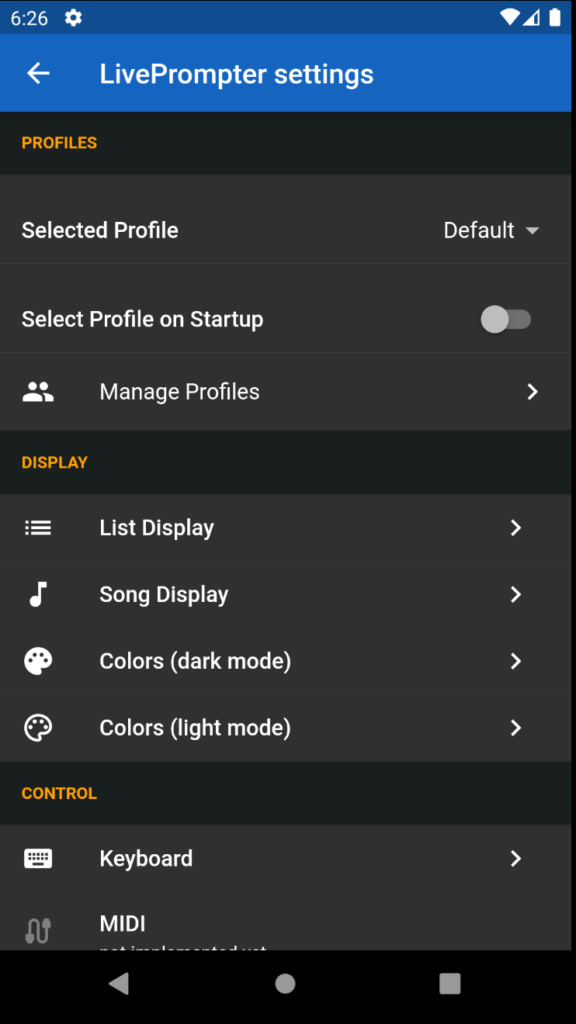
So let’s head down to the bottom of the Settings page and tap on “Manage Sources” in order to set a source folder for LivePrompter.
The Sources Page
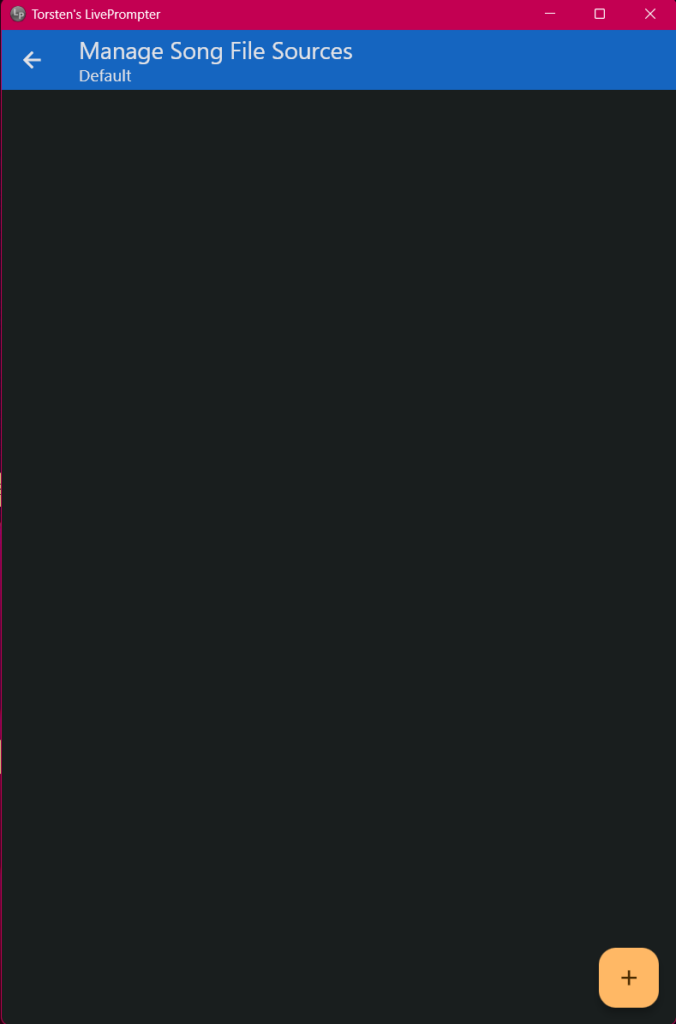
This is the page where you manage your home directories (yes – you can have more than one!). A “source” is essentially a name for a folder within your Dropbox.
The sources page looks a bit empty, so let’s click the nice and friendly “+” button to create a new source.
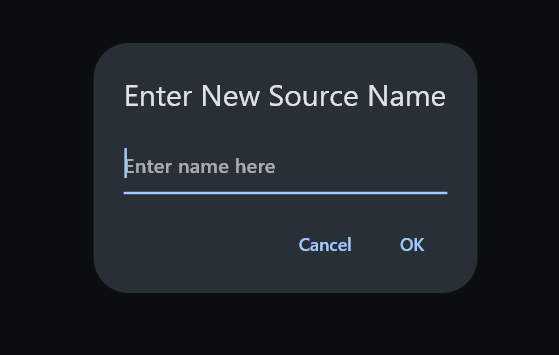
Now we first enter a name for this source – this is essentially just a label for the folder on your PC. It’s just easier to look for “Tutorial” than for e.g. “C:\Music Files\My Band\LivePrompter\Tutorial”
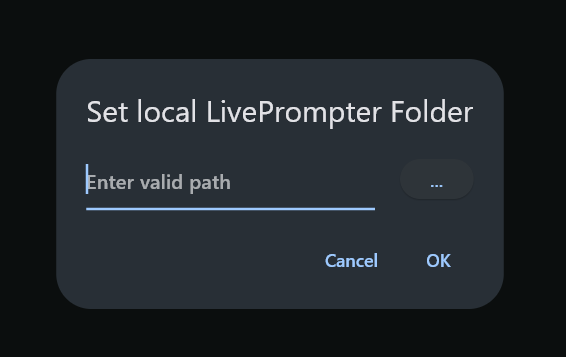
Next, you enter the folder where your LivePrompter data sits on your disk drive. You need to provide the absolute path on your PC. LivePrompter will help you: click the button with the three periods, and you will get a typical file selector dialog where you can navigate to your LivePrompter song folder.
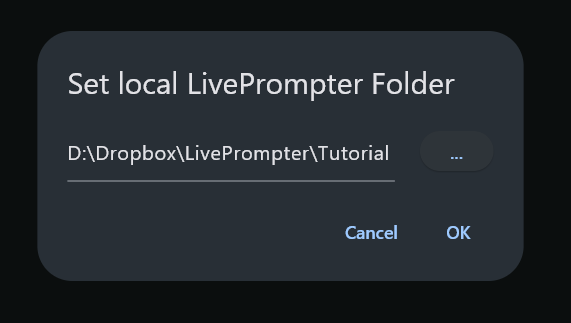
Now navigate to the folder that contains your song files and click “Select Folder” or whatever the equivalent is in your local Windows. Now the dialog contains the absolute path to your LivePrompter data.
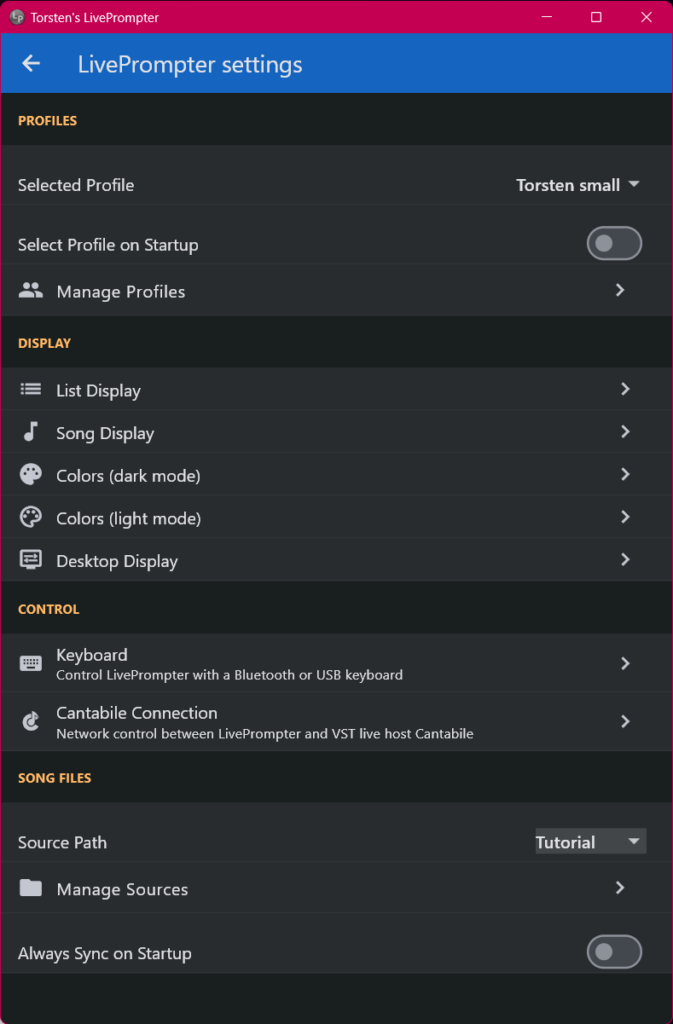
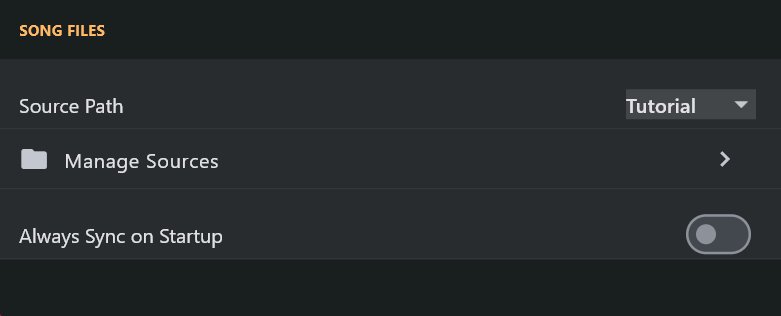
OK, that’s done, now we head back to the settings page (tap the “back” arrow at the top left). LivePrompter still doesn’t know that it is supposed to actually use this source, so we need to tell it: we select our newly created source in the “Source Path” drop-down menu – this tells LivePrompter to use the “Tutorial” path for the current profile:
These are all the settings you need to make at this time; you can exit the Settings page again (top left, the “back” arrow).
Database synchronization
LivePrompter keeps all information on your songs, setlists, books etc in its internal database; this database needs to be updated to extract all the relevant information from your song files. At the moment, LivePrompter doesn’t know anything about your song files, so let’s fix that now
Pull up the drawer menu again, and then tap on “Sync” to go to the Sync page:
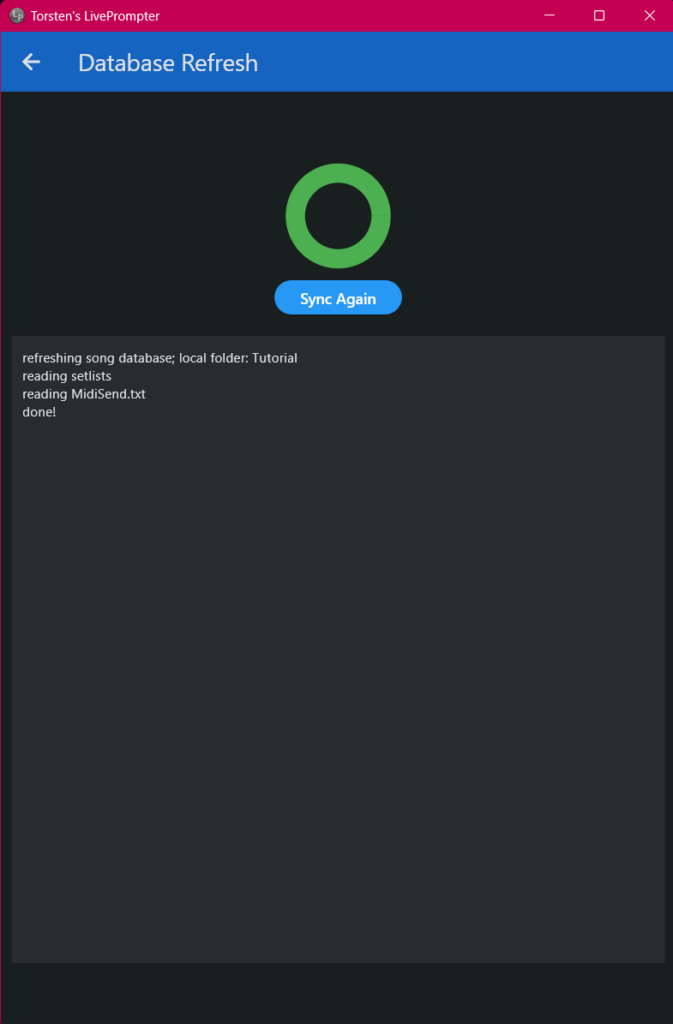
Once the sync process is done (no more spinning circle), you can exit the synchronization page – and suddenly things look far nicer on the home page:
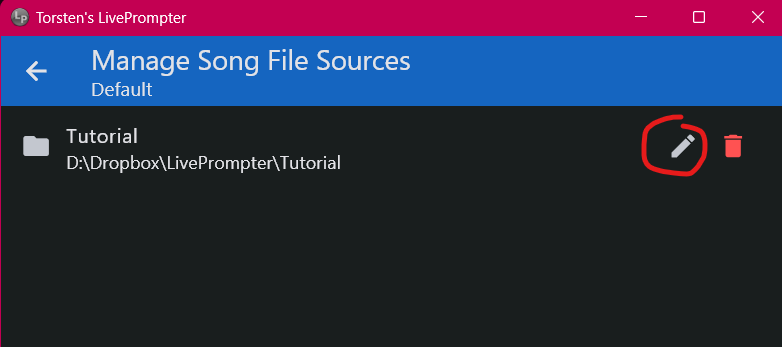
If the home page is still blank, you may have a typo in your target folder. In that case, check the Sources page for any typos in the song file path, and correct them using the “pencil” icon.
Also the drawer should now be populated with your setlists and books, if you have already created any. If you don’t know what I’m talking about, give it a bit of time – there’s a full chapter on setlists and books.
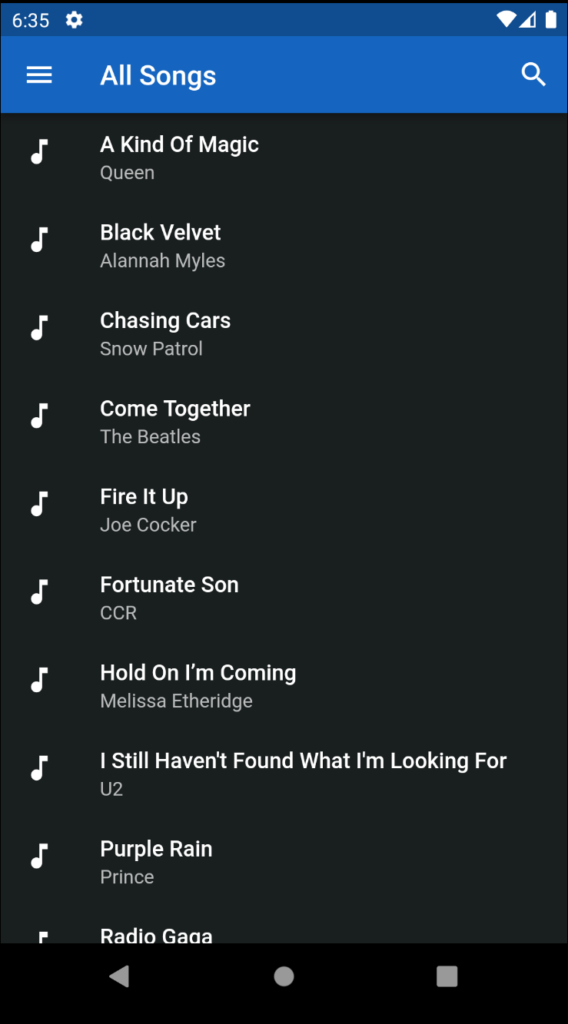
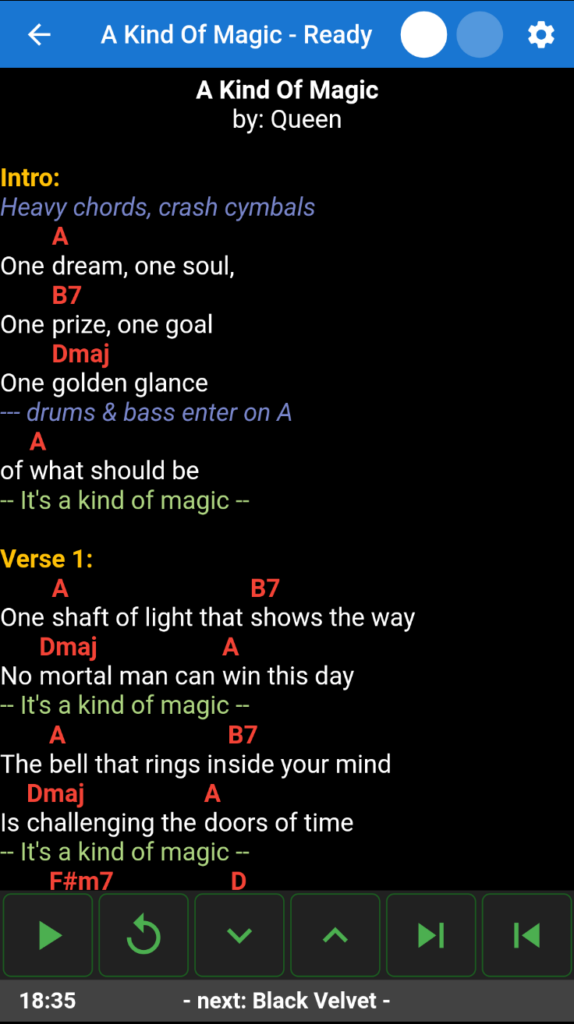
Now you can simply tap one of the songs on the home screen to get to the song page – everything should look pretty familiar to experienced LivePrompter users:
That’s all regarding configuration for the moment – you should now be able to use LivePrompter on your Windows Desktop.
In the next chapter, I’ll show you the screens in more detail and explain what each element does.